Beginner’s Guide to Photography: Camera Basics, Exposure Triangle & Composition
Beginner’s Guide to Photography
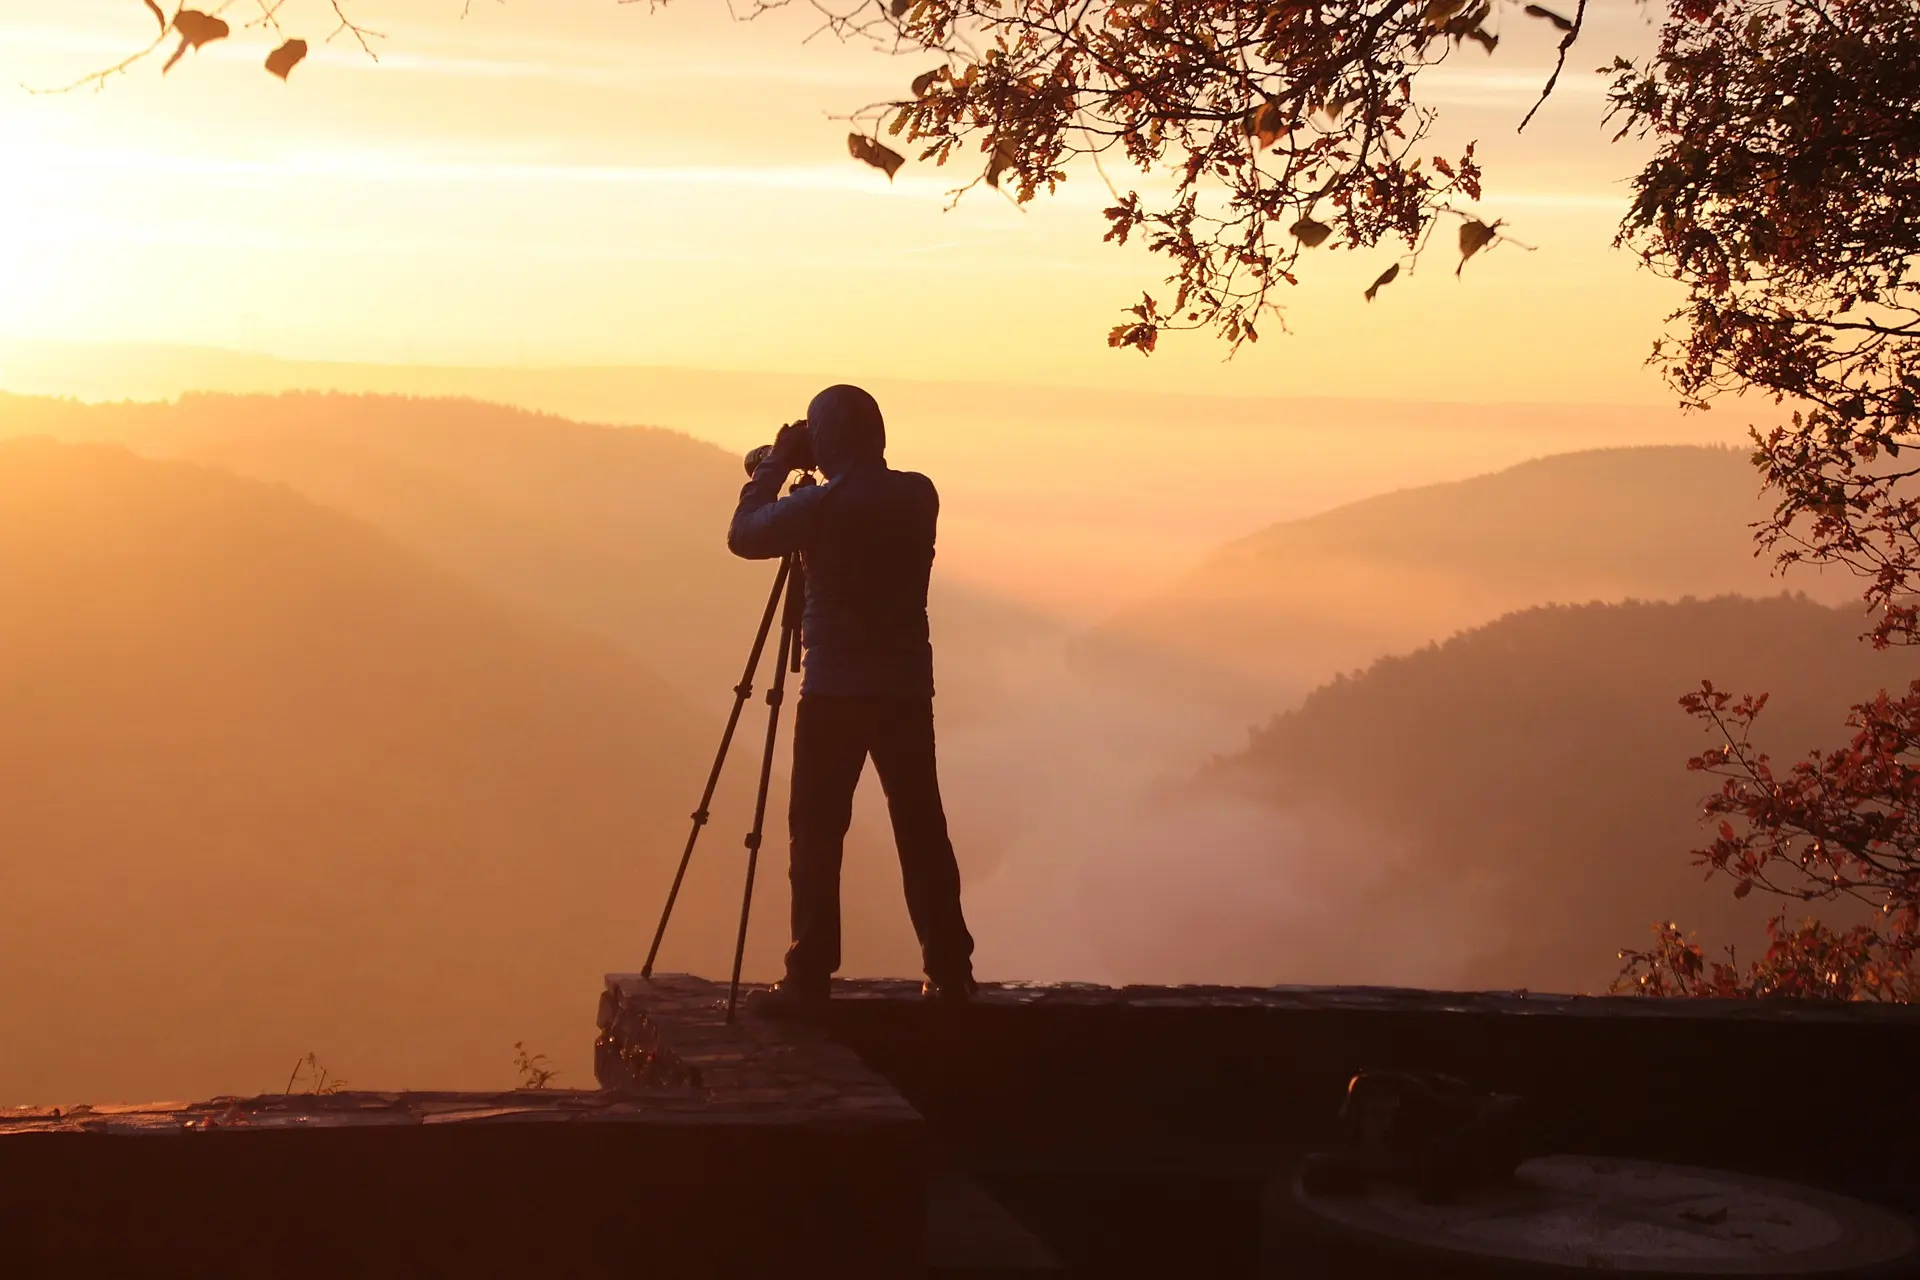
Getting into photography can feel overwhelming at first—but once you understand a few core ideas, everything starts to click. This guide breaks down the essentials so you can confidently start taking better photos right away.
Starting photography doesn’t have to be complicated. Once you understand a few key concepts—how your camera works, how light is controlled, and how to compose a shot—you can dramatically improve your photos.
This guide walks you through the essentials and gives you simple photo ideas to practice each skill.
📷 Camera Basics
Before diving into creative techniques, it’s important to understand how your camera works.
Types of Cameras
- Smartphones – Great for convenience and learning composition
- DSLR Cameras – Traditional, reliable, and widely used
- Mirrorless Cameras – Modern, compact, and powerful
No matter what you use, the fundamentals stay the same.
Key Camera Settings
- ISO – Controls how sensitive your camera is to light
- Low ISO (100–200): clean, sharp images
- High ISO (1600+): brighter but more grain (noise)
- Shutter Speed – How long the camera sensor is exposed to light
- Fast (1/1000): freezes motion
- Slow (1/10): creates motion blur
- Aperture – The size of the lens opening
- Low f-number (f/1.8): blurry background
- High f-number (f/11): more in focus
🌗 The Exposure Triangle
The Exposure Triangle is the foundation of photography. It explains how ISO, shutter speed, and aperture work together to control brightness and style.
Think of it like a balancing act:
- Increase ISO → brighter image, more noise
- Slow shutter speed → brighter image, more motion blur
- Wider aperture → brighter image, shallower depth of field
If you change one setting, you usually need to adjust another to keep the exposure balanced.
Aperture
Aperture controls how much light passes through the lens, measured in f-stops (e.g., f/2.8, f/8, f/16).
A wider aperture (smaller f-number) allows more light and creates a shallow depth of field—ideal for portraits with blurred backgrounds.
A narrower aperture (larger f-number) reduces light intake but increases depth of field, keeping more of the scene sharp.
Shutter Speed
Shutter speed sets the duration the camera’s sensor is exposed to light, typically ranging from fractions of a second (1/4000s) to several seconds. Fast shutter speeds freeze motion, while slower ones create motion blur, useful for artistic effects such as smooth water or light trails.
Adjusting shutter speed directly impacts the amount of light captured and requires compensation through aperture or ISO changes.
ISO Sensitivity
ISO defines the camera sensor’s sensitivity to light.
Low ISO values (100–200) yield cleaner, less noisy images suitable for bright conditions.
High ISO settings (e.g., 1600+) enhance brightness in low light but introduce digital noise and reduce dynamic range. Modern sensors mitigate this trade-off, allowing higher ISO use with acceptable image quality.
Balancing the Triangle
The three settings are interdependent: altering one requires adjustment of at least one other to maintain consistent exposure. For example, doubling shutter speed (halving light) may require a wider aperture or higher ISO to compensate. Understanding this interplay enables photographers to achieve both technical accuracy and creative expression—balancing sharpness, brightness, and texture for the desired visual effect
Example:
You’re shooting in low light:
- Increase ISO OR
- Use a slower shutter speed OR
- Open your aperture
Each choice affects the look of your photo differently.
🎨 Composition Rules
Good composition is what makes a photo feel professional and visually appealing.
Rule of Thirds
Imagine your image divided into a 3×3 grid. Place your subject along the lines or intersections.
✔ Creates balance
✔ More interesting than centering everything
Leading Lines
Use roads, fences, or natural lines to guide the viewer’s eye toward your subject.
Framing
Use elements like windows, trees, or arches to “frame” your subject and draw attention.
Depth
Include foreground, middle ground, and background to make your photos feel more 3D.
Simplicity
Less is often more. Remove distractions so your subject stands out clearly.
📷 Sample Photo Ideas (Composition)
- Take a landscape using the rule of thirds
- Photograph a road or bridge using leading lines
- Frame a subject through a window or doorway
- Capture a scene with clear foreground and background layers
- Shoot a minimal photo with one clear subject
🛠️ Editing Your Photos
Even great photos benefit from editing. Tools like Adobe Lightroom and Adobe Photoshop help you:
- Adjust brightness and contrast
- Enhance colors
- Crop and straighten images
Start simple—small adjustments go a long way.
Basic Edits to Start With
- Brightness & exposure
- Contrast
- Color balance
- Cropping & straightening
Sample Photo Ideas (Editing Practice)
- Edit the same photo in different styles (bright vs moody)
- Improve an underexposed photo
- Crop an image to improve composition
🚀 Final Tips for Beginners
- Practice regularly (even daily if possible)
- Shoot in different lighting conditions
- Don’t rely only on auto mode—experiment!
- Study other photographers for inspiration
- Be patient—improvement comes with time
Photography is both technical and creative. Mastering the basics gives you the tools—but your unique perspective is what makes your photos stand out.