How to use the Golden Spiral in Photography
Understand What the Golden Spiral Is
The Fibonacci spiral (also called the Golden Spiral) is built from squares sized according to the Fibonacci sequence. When you draw a curve through them, you get a spiral that expands outward.
This spiral originates from the Fibonacci sequence and manifests as a logarithmic spiral that expands according to the golden ratio (approximately 1.618). This proportional relationship has long been associated with aesthetic harmony and structural balance, appearing in numerous natural phenomena as well as in architectural and artistic design.
Photographers use this spiral as a composition overlay in order to place their subject strategically, therefore achieve coherence, balance, and enhanced visual engagement.
Turn On a Spiral Overlay (If Available)
Some cameras and editing software allow composition guides:
- Adobe Lightroom
- Adobe Photoshop
- Some mirrorless cameras (custom grid settings)
- Many mobile camera apps
In Lightroom:
- Press R (Crop tool)
- Press O to cycle overlays until the spiral appears
- Press Shift + O to rotate it
Position Your Subject at the Small End
The most important rule:
👉 Place your main subject at the smallest part (tight curl) of the spiral.
The curve should then guide the viewer’s eye outward through supporting elements.
Example uses:
- Portrait → Place the eye at the spiral center
- Landscape → Place the sun, mountain peak, or tree at the spiral center
- Food photography → Main dish at the curl, table elements following the spiral
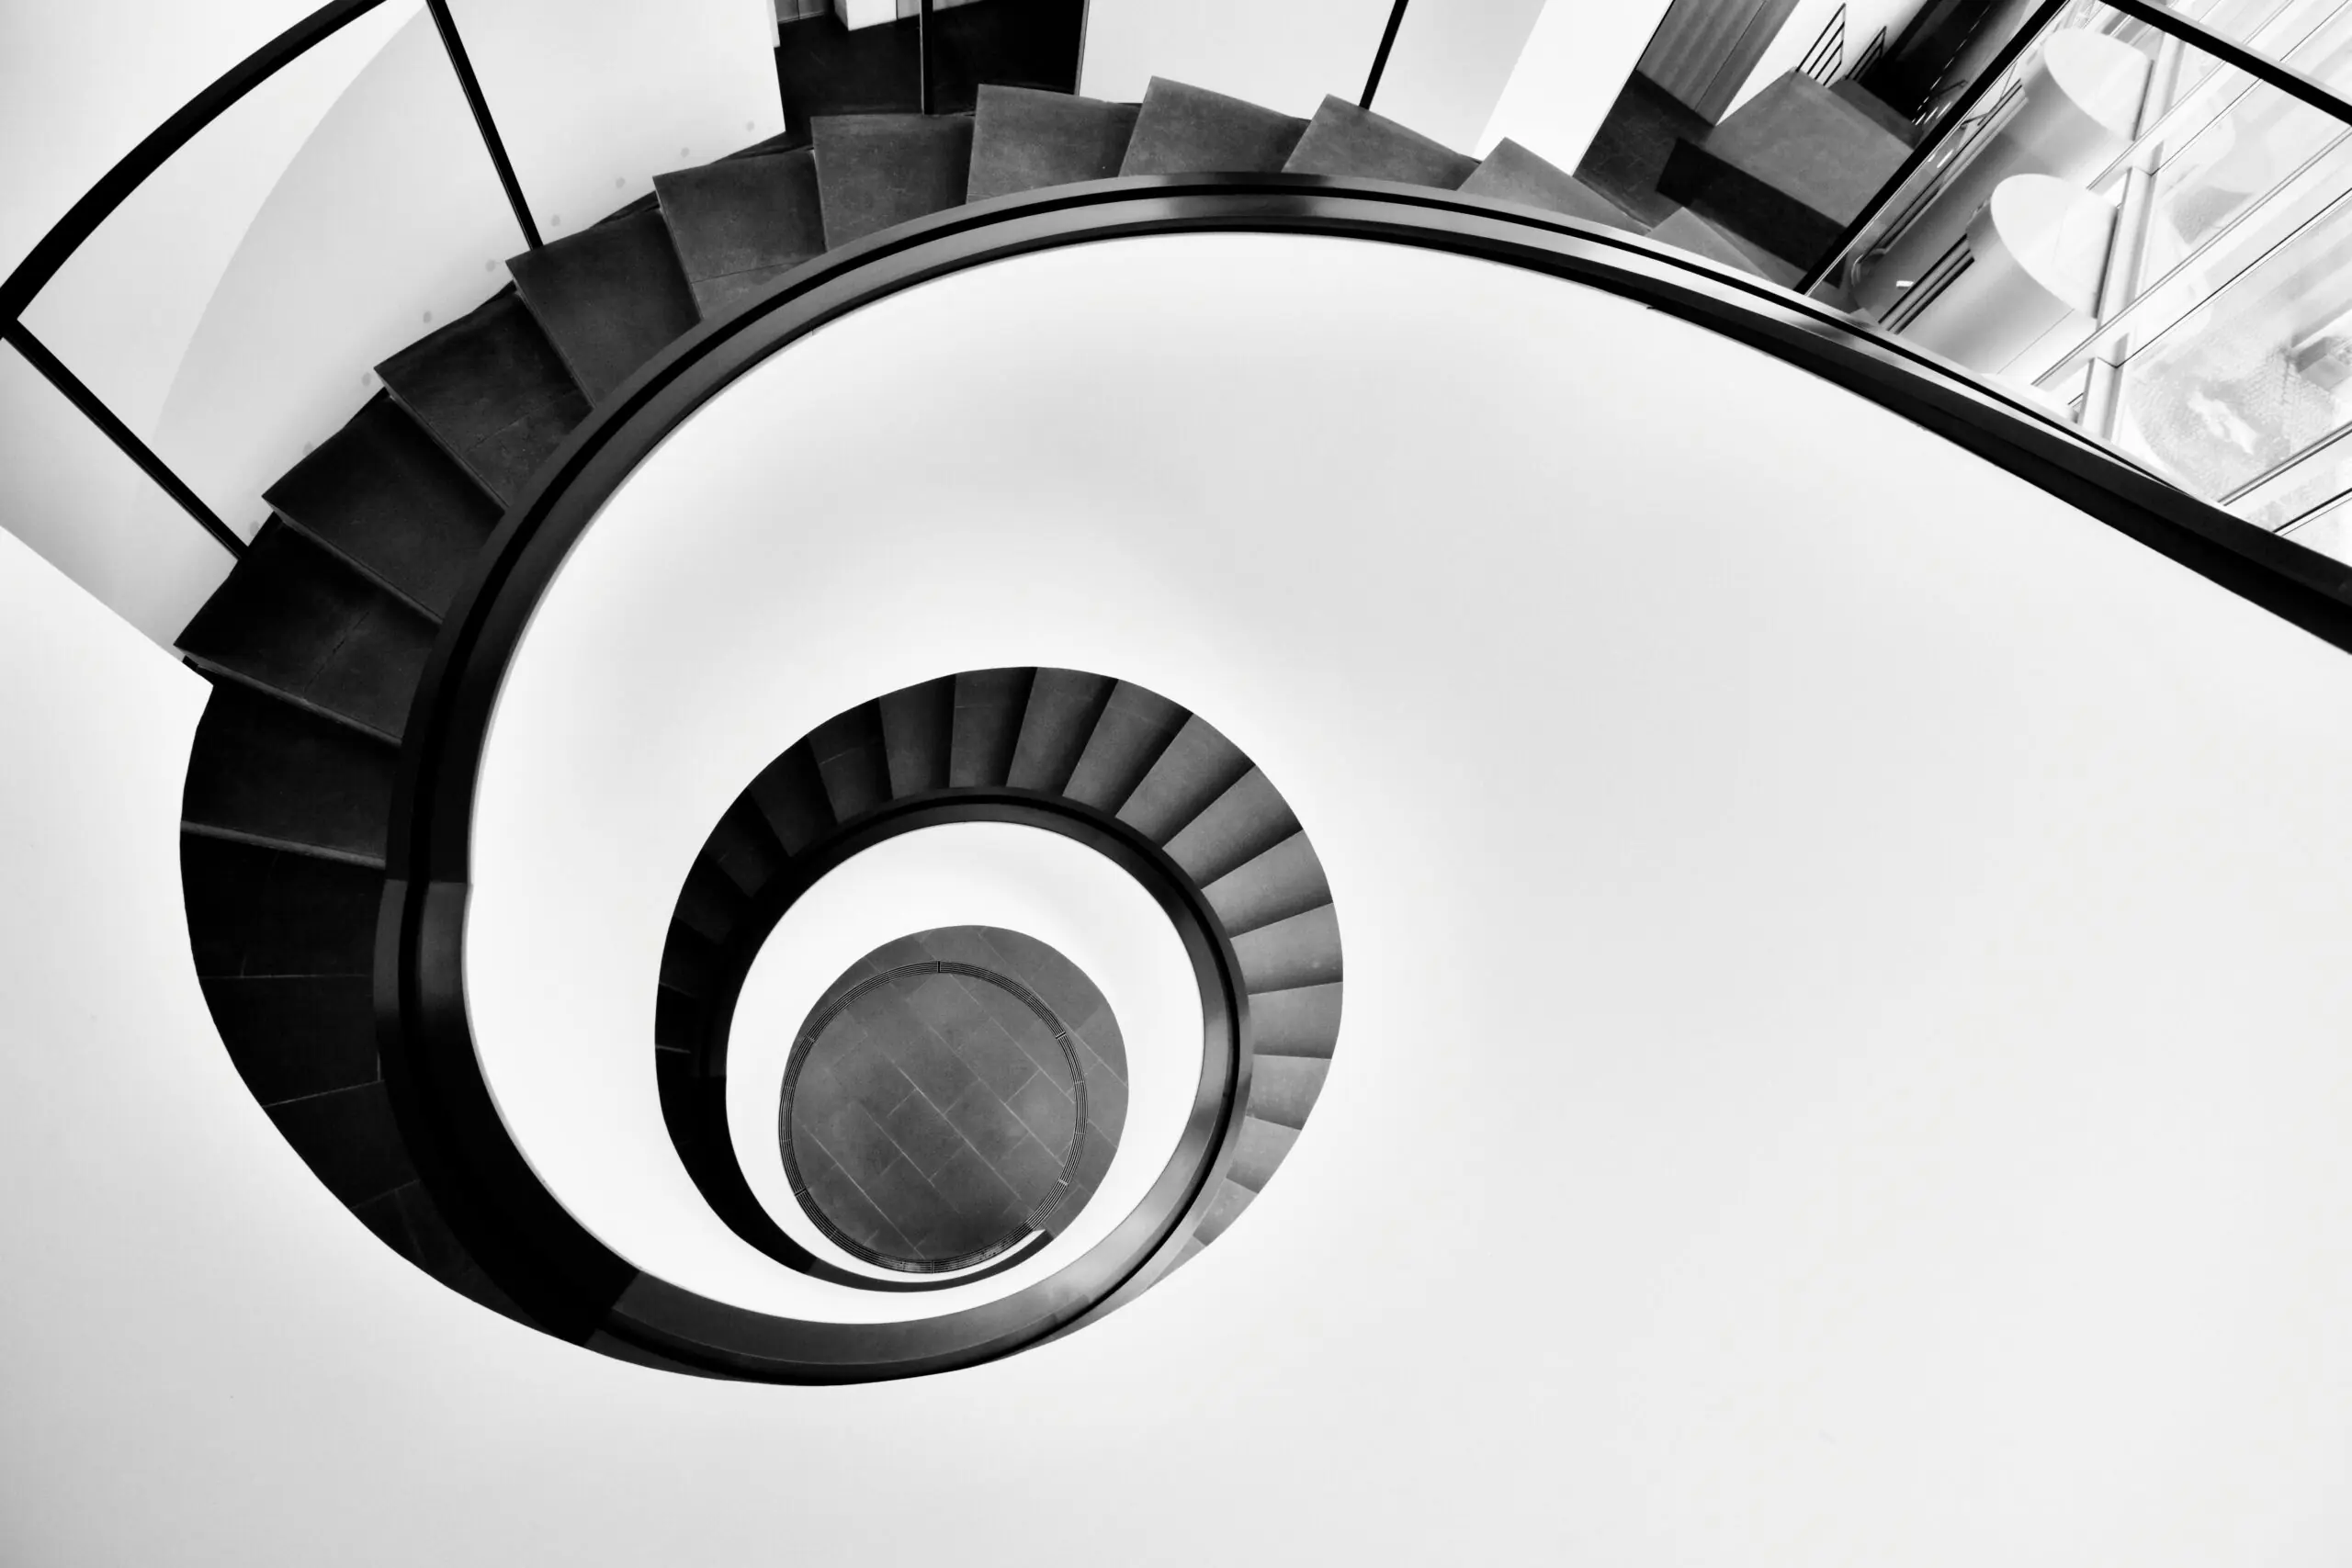
Use Leading Lines to Follow the Curve
Look for natural curves:
- Roads
- Rivers
- Shorelines
- Staircases
- Human body poses
- Flower petals
- Architecture curves
Align these with the spiral flow.
Flip the Spiral to Match Your Scene
The spiral can rotate in four directions.
Always rotate it to match the natural direction of visual movement in your image.
Compared With Rule of Thirds
The Golden spiral is:
- More dynamic
- More organic
- Better for movement and flow
Rule of thirds is:
- Simpler
- Easier for beginners
- More static
Use the spiral when you want a stronger sense of motion and depth.
When It Works Best
✔ Portraits
✔ Landscapes
✔ Nature
✔ Architecture
✔ Minimalist compositions
✔ Close-up detail shots
Practical Shooting Method (Step-by-Step)
- Identify your main subject.
- Visualize a spiral entering the frame.
- Place your subject at the curl.
- Arrange secondary elements along the outward curve.
- Adjust framing slightly until it feels balanced.
- Fine-tune in post-processing if needed.
Overall, don’t force it.
The Golden spiral works best when it enhances a natural curve already present in the scene. If your composition feels strained, switch to simpler guides.